Many users skip customizing their WordPress dashboard because it’s not clear that it’s customizable. But really, the hardest part of this entire process is deciding which boxes are most important to you. Other than that, it’s as easy as clicking checkboxes, click-and-dragging your mouse + clicking a link or button.
The default WordPress dashboard
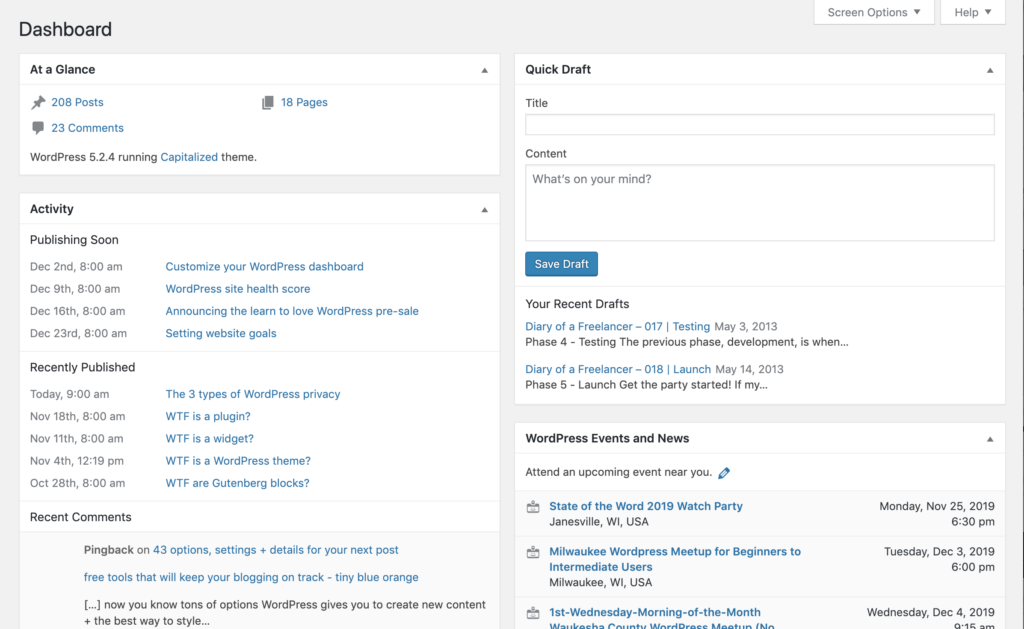
When you first log into WordPress — on a new site OR any site that hasn’t edited the dashboard — you’ll see something like this. The At a Glance box shows off what content + theme you have, Activity gives a summary of what content is coming up + the Quick Draft box allows you to take an idea that you have + turn it into a post rough draft in a second.
Some of these dashboard blocks are great. Some are not. Most WordPress site owners that I know are never going to attend a WordPress event, so having the WordPress Events and News taking up space on your dashboard is a waste. And as much as I love the At a Glance box for knowing the site is current, I get more info from the site update icon.
Dashboard boxes
Each section of the dashboard is called a box. There are core WordPress boxes + some plugins come with their own set of boxes that you can utilize too.
For example, Yoast SEO plugin has a box that lets you know the average score of your posts.
As of WordPress 5.3, the default dashboard box options you have are:
- At a Glance
- Activity
- Quick Draft
- WordPress Events and News
- Welcome (quick suggestions for using your site)
I don’t have many plugins on the tinyblueorange.com site, so I only have 2 additional boxes available — one for Yoast SEO (the plugin I recommend for all WordPress sites) + one for Gravity Forms.
Customizing your dashboard
Once you learn how easy it is to customize your WordPress dashboard, you’ll wonder what took so long to dive in. First, you’ll start with showing/hiding the boxes you want:
- Head to your site dashboard (either by logging in or by clicking “Dashboard” in the left hand menu)
- Click “Screen Options” in the upper right corner (to see what options you have)
- Check the checkboxes next to the boxes you want (and uncheck the ones you don’t want)
Now that all of the boxes are showing, it’s time to arrange them in a useful layout:
- Starting with the box you want in the top left, click + drag the heading of that box to the top left column
- Repeat clicking + dragging the boxes until they are placed in the order that works best for you
- Optional: click the arrow to the right of the box heading to collapse the box (great for saving space but having boxes available)
And that’s it! Your changes save automatically + are user specific. That means your team members won’t be stuck using your specific dashboard layout.